Bumpers
Switch to a 1/4" blade on the band saw, then cut the 3/8" dowel in half lengthways. A "V" notch in a scrap of wood will keep the dowel from rolling during the cut. Cut the half dowel to bumper length, slightly longer than the width of the chassis.
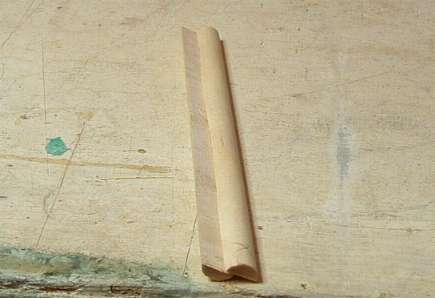
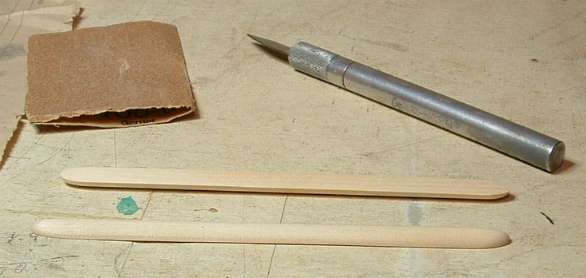
Carve and sand the ends to a rounded point.
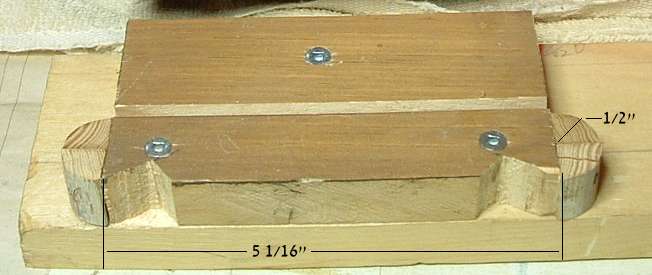
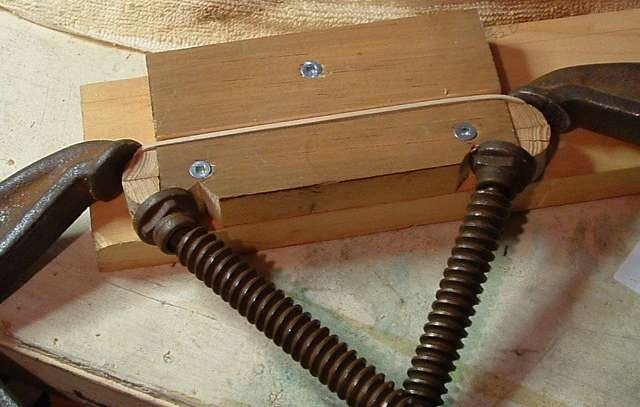
Create the curve on the ends of the bumpers by steam bending the wood. First make a jig from some 1 by material. The centre piece that the bumper is shaped against is 5 1/16" long with 1/2" quarter rounds glued and tacked to the ends with finishing nails. Cut notches for the clamps straight across from the curve at the ends. Screw down another piece above the first piece to snugly hold the bumpers against the form.
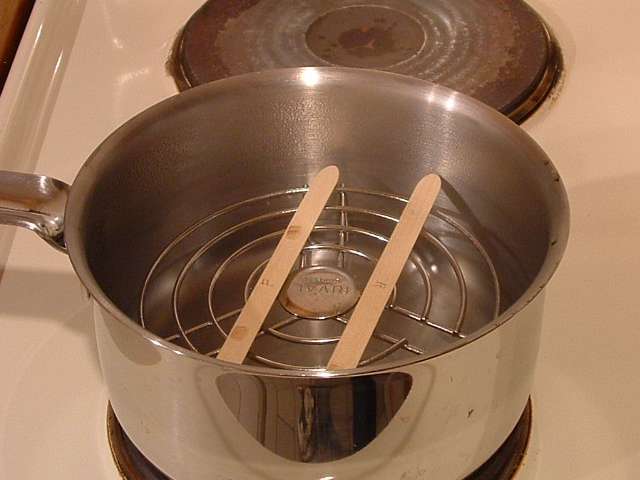
Steam bend the bumpers pieces. I used a trivet in a pan to hold the bumpers and kept them on the boil for 10 minutes.
While they are still hot (wear gloves) press them into the jig and clamp down the ends.
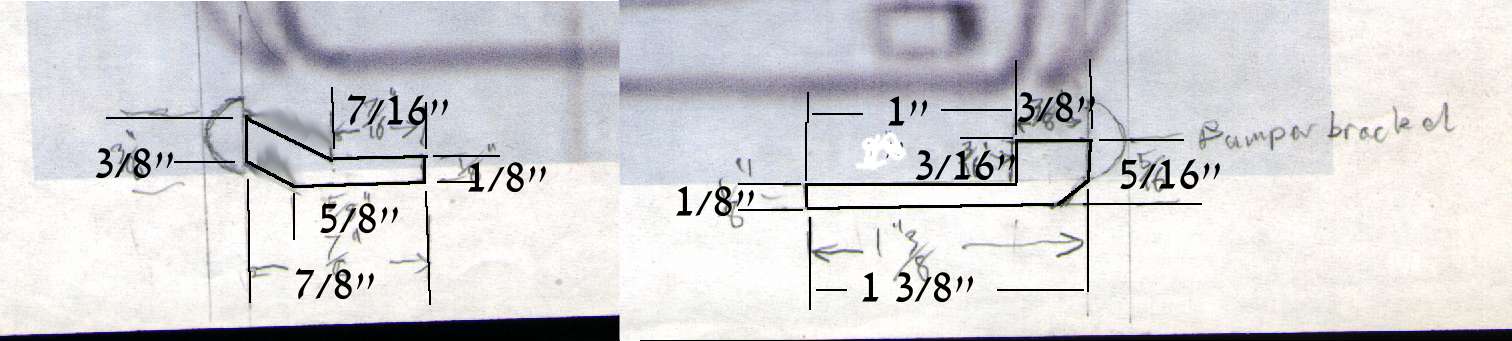
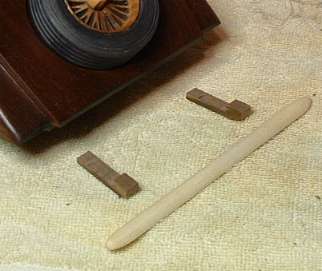
One end of my bumpers did not get the same curve as the other so I redid the steaming, putting them into the jig the opposite way to the first try and then they came out matching. The tips of the bumpers will need some more carving and sanding to remove the flat spot from the clamping. Make bumper mounts from some of the cutoff scrap.
Next picture shows the finished brackets with the straight bumpers.

If you glue on the bumpers after applying the Tung Oil finish, sand the finish off the underside front and back where the brackets go.
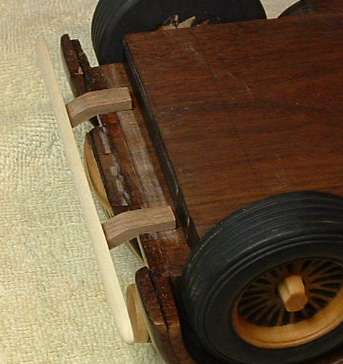
Glue the bumpers to the brackets. I set the brackets in place pinched between the underside of the chassis and some scrap wood while I glued on the bumpers. This to ensure that the brackets would be square for gluing to the chassis. Here are underside views of them resting on their mounting points under the chassis.